It's been great fun doing the KAL, and chatting on the Stitched Together Designs Group over on Ravelry. There were some lovely yarn choices, and it was interesting seeing how my pattern was changed just by knitting it in something different.
As I already told you, I finished my Knotted Cap last weekend and finally got to take some photos today. As you can see from these photos, blocking relaxes the knitted fabric and neatens up the stitches and cables. Using a cheap polystyrene head makes a real difference when blocking hats. It means you have a solid gentle curve on which to stretch out the hat, and I highly recommend it.
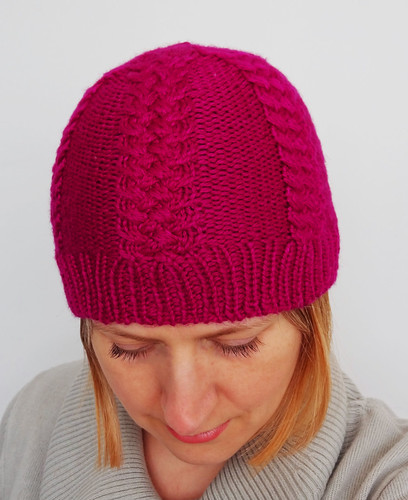
I really enjoyed using the Fyberspates Scrumptious Aran, as it is a lovely soft and silky yarn. It's nice to wear a hat that doesn't stick to your hair! I'm glad I decided to knit this hat for myself in such a vivid shade as I've only really knit it before in "manly" colours, ie grey and brown!
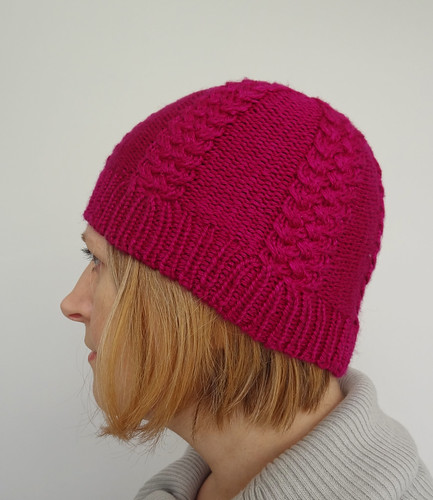
I'm pleased with the way the cast on edge looks, using the Tubular Cast On from Woolly Wormhead's tutorial. Now the hat has been blocked the edging looks more smooth, and it is incredibly elastic. No ribbing marks on your forehead with this hat! One of the advantages of the ribbing not being pulled in, is the gentle flaring at the bottom of the cables. The cables pull the top of the ribbing inwards, which in turn pushes the bottom of that section outwards. This distortion works beautifully if you line cables up with your ears, keeping them warm and snug. I think if I wore the brim turned back, the elasticity of this style of cast on may work against me and look splayed out.
When knitting the hat I decided that I didn't want to fold the ribbed brim back as I wanted to wear it like a beanie rather than a watch cap. To prevent the brim from being long enough to cover my eyes, I knit the body of the hat 1/2" shorter than the pattern recommends for my hat size (medium). This reduction in hat depth worked out perfectly. This is one of the best fitting hats I've made for myself, probably because I know how it's going to turn out, now I've knit about 5 of them!
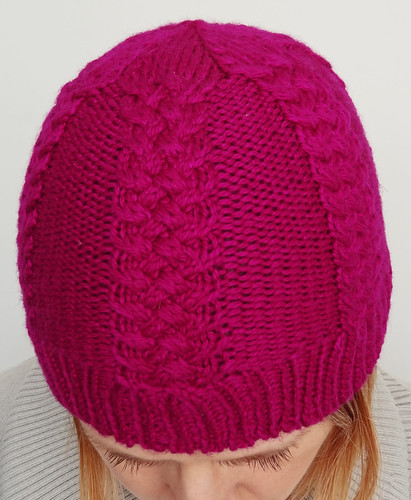
I do like the crown of this hat. It always makes me smile, and because it is hardly ever seen, it's like a secret.
I have enjoyed knitting this hat again, and it has reminded me that knitting my own patterns is fun. I designed my patterns for a reason - I wanted to knit them and the patterns weren't there, so I created them. It's also nice to keep this hat for myself rather than giving it away for once.
To look at other finished projects, click on the button.