
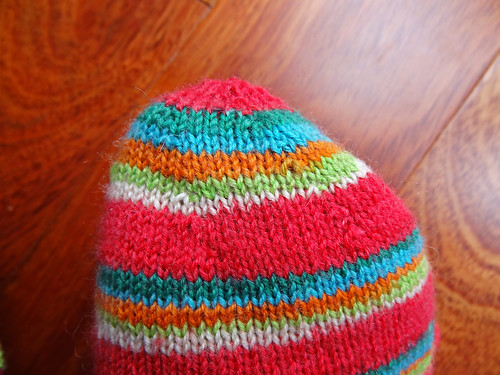
This colourway is discontinued, which is why I got it cheaply. The range of sock yarn it came from is Flusi Das Socken Monster. Isn't that a fabulous name? I also used this self-striping yarn as not only was it from stash, but it is one of the last of my collection of self-striping yarns. These striping yarns are fantastic at bringing interest to plain stocking stitch socks, but they do tend to hide stitch patterns. I have one more set of striping yarn and then I will only have sock yarn that is variegated or has very long colour changes. Once I get this basic sock sorted, I want to start adding stitch patterns to make the knit more interesting again, and I'd rather used up the striping yarn on these plain socks first.
As you can see from the above photo, I am continuing with the spiral toe, as it really is the most straight forward method of starting the sock.
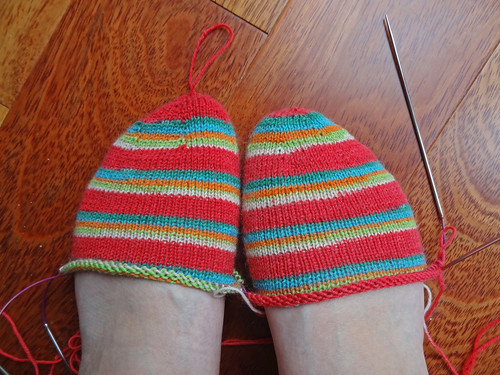
I've actually got quite a long way through the foot. I went out to meet some old friends on Monday afternoon and I just knit round and round in circles for 4 hours. It's amazing what you can achieve when you aren't really looking!
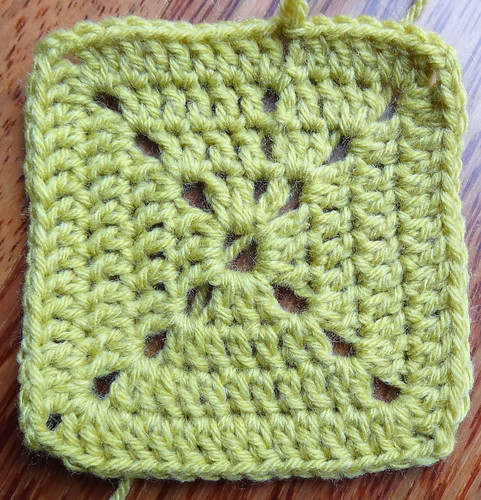
In addition to going round and round on my socks, I've been going round and round in blocks - of crochet. I've been working on a gift, which I wasn't really going to talk about but I just wanted to tell my fellow crafters of a way of doing a fairly solid crocheted block, which looks neater than the way I've been doing it for the last few years. Here is the block that is done the way I have always done them (but usually in a granny square style which has gaps in the construction).
Then I found this pattern. This pattern has the round beginning and ending at a corner (where the holes in the material are). It's much neater, in my opinion.
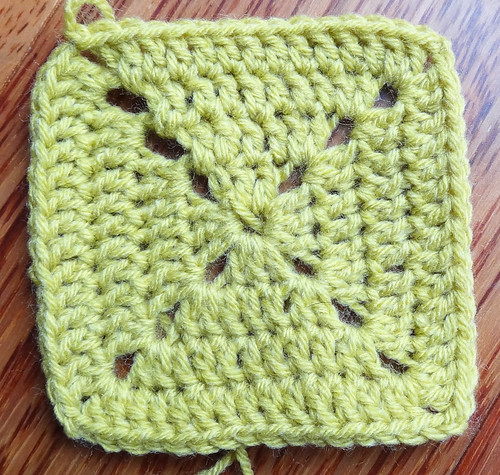
This is the last I will probably show you of these little squares until they are assembled, but I wanted to share the method for anyone else who wanted to do a more solid crocheted square.
To see other people's work in progress, click on the button.
