

I have been wearing this for over a week now and I've come the conclusion it works well when worn like I am in the above photo, though it is a bit loose around the chin so a draft hits the neck in high winds. However, when you try and lift the bottom half up around your nose, as was shown in the original pattern photos, for when it is really drafty, it looks a bit silly and I have to hunch my shoulders to get it to stay up. See for yourself:
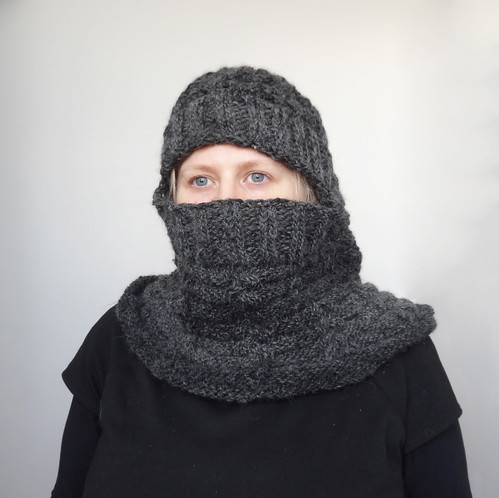
Essentially, my ribbing is too loose. If I was to knit this again, and I may well do one day, I would use smaller needles for the ribbing section. It wouldn't be easy to do, but I think it would be doable if I used two circular needles for knitting in the round. Another solution might be to make the ribbing section smaller, so the opening wasn't as wide.
I think to fix this problem, I will buy some knitting elastic, and weave it through the couple of rows nearest to the "face hole".
When the hood is worn back, the cowl portion of this accessory is very very snug indeed.
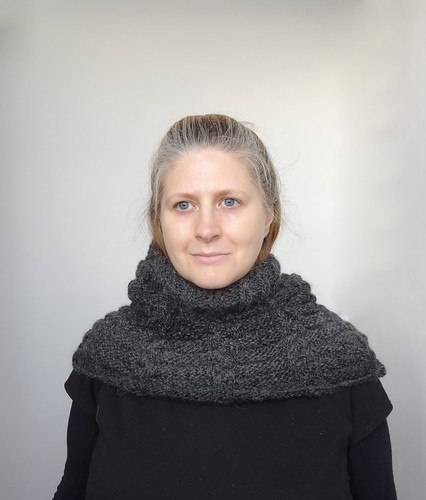
Wearing it this way is wonderfully warm. Which is why I'm determined to fix the little gaping problem. I know it could be a fantastic way of keeping warm. In fact, what I did the other day was wear my Central Park Hoodie under my Winter coat and put the hood up, then I put the Winter Warmer over the top with the hood up. Now THAT was cozy! So I may also try it with a hat on underneath the hood, but I have high hopes for the knitting elastic solution. I'll keep you posted.
If you want to look at some other finished objects, click on the buttonshown below. I'm sure you will be inspired, I know I always am!
